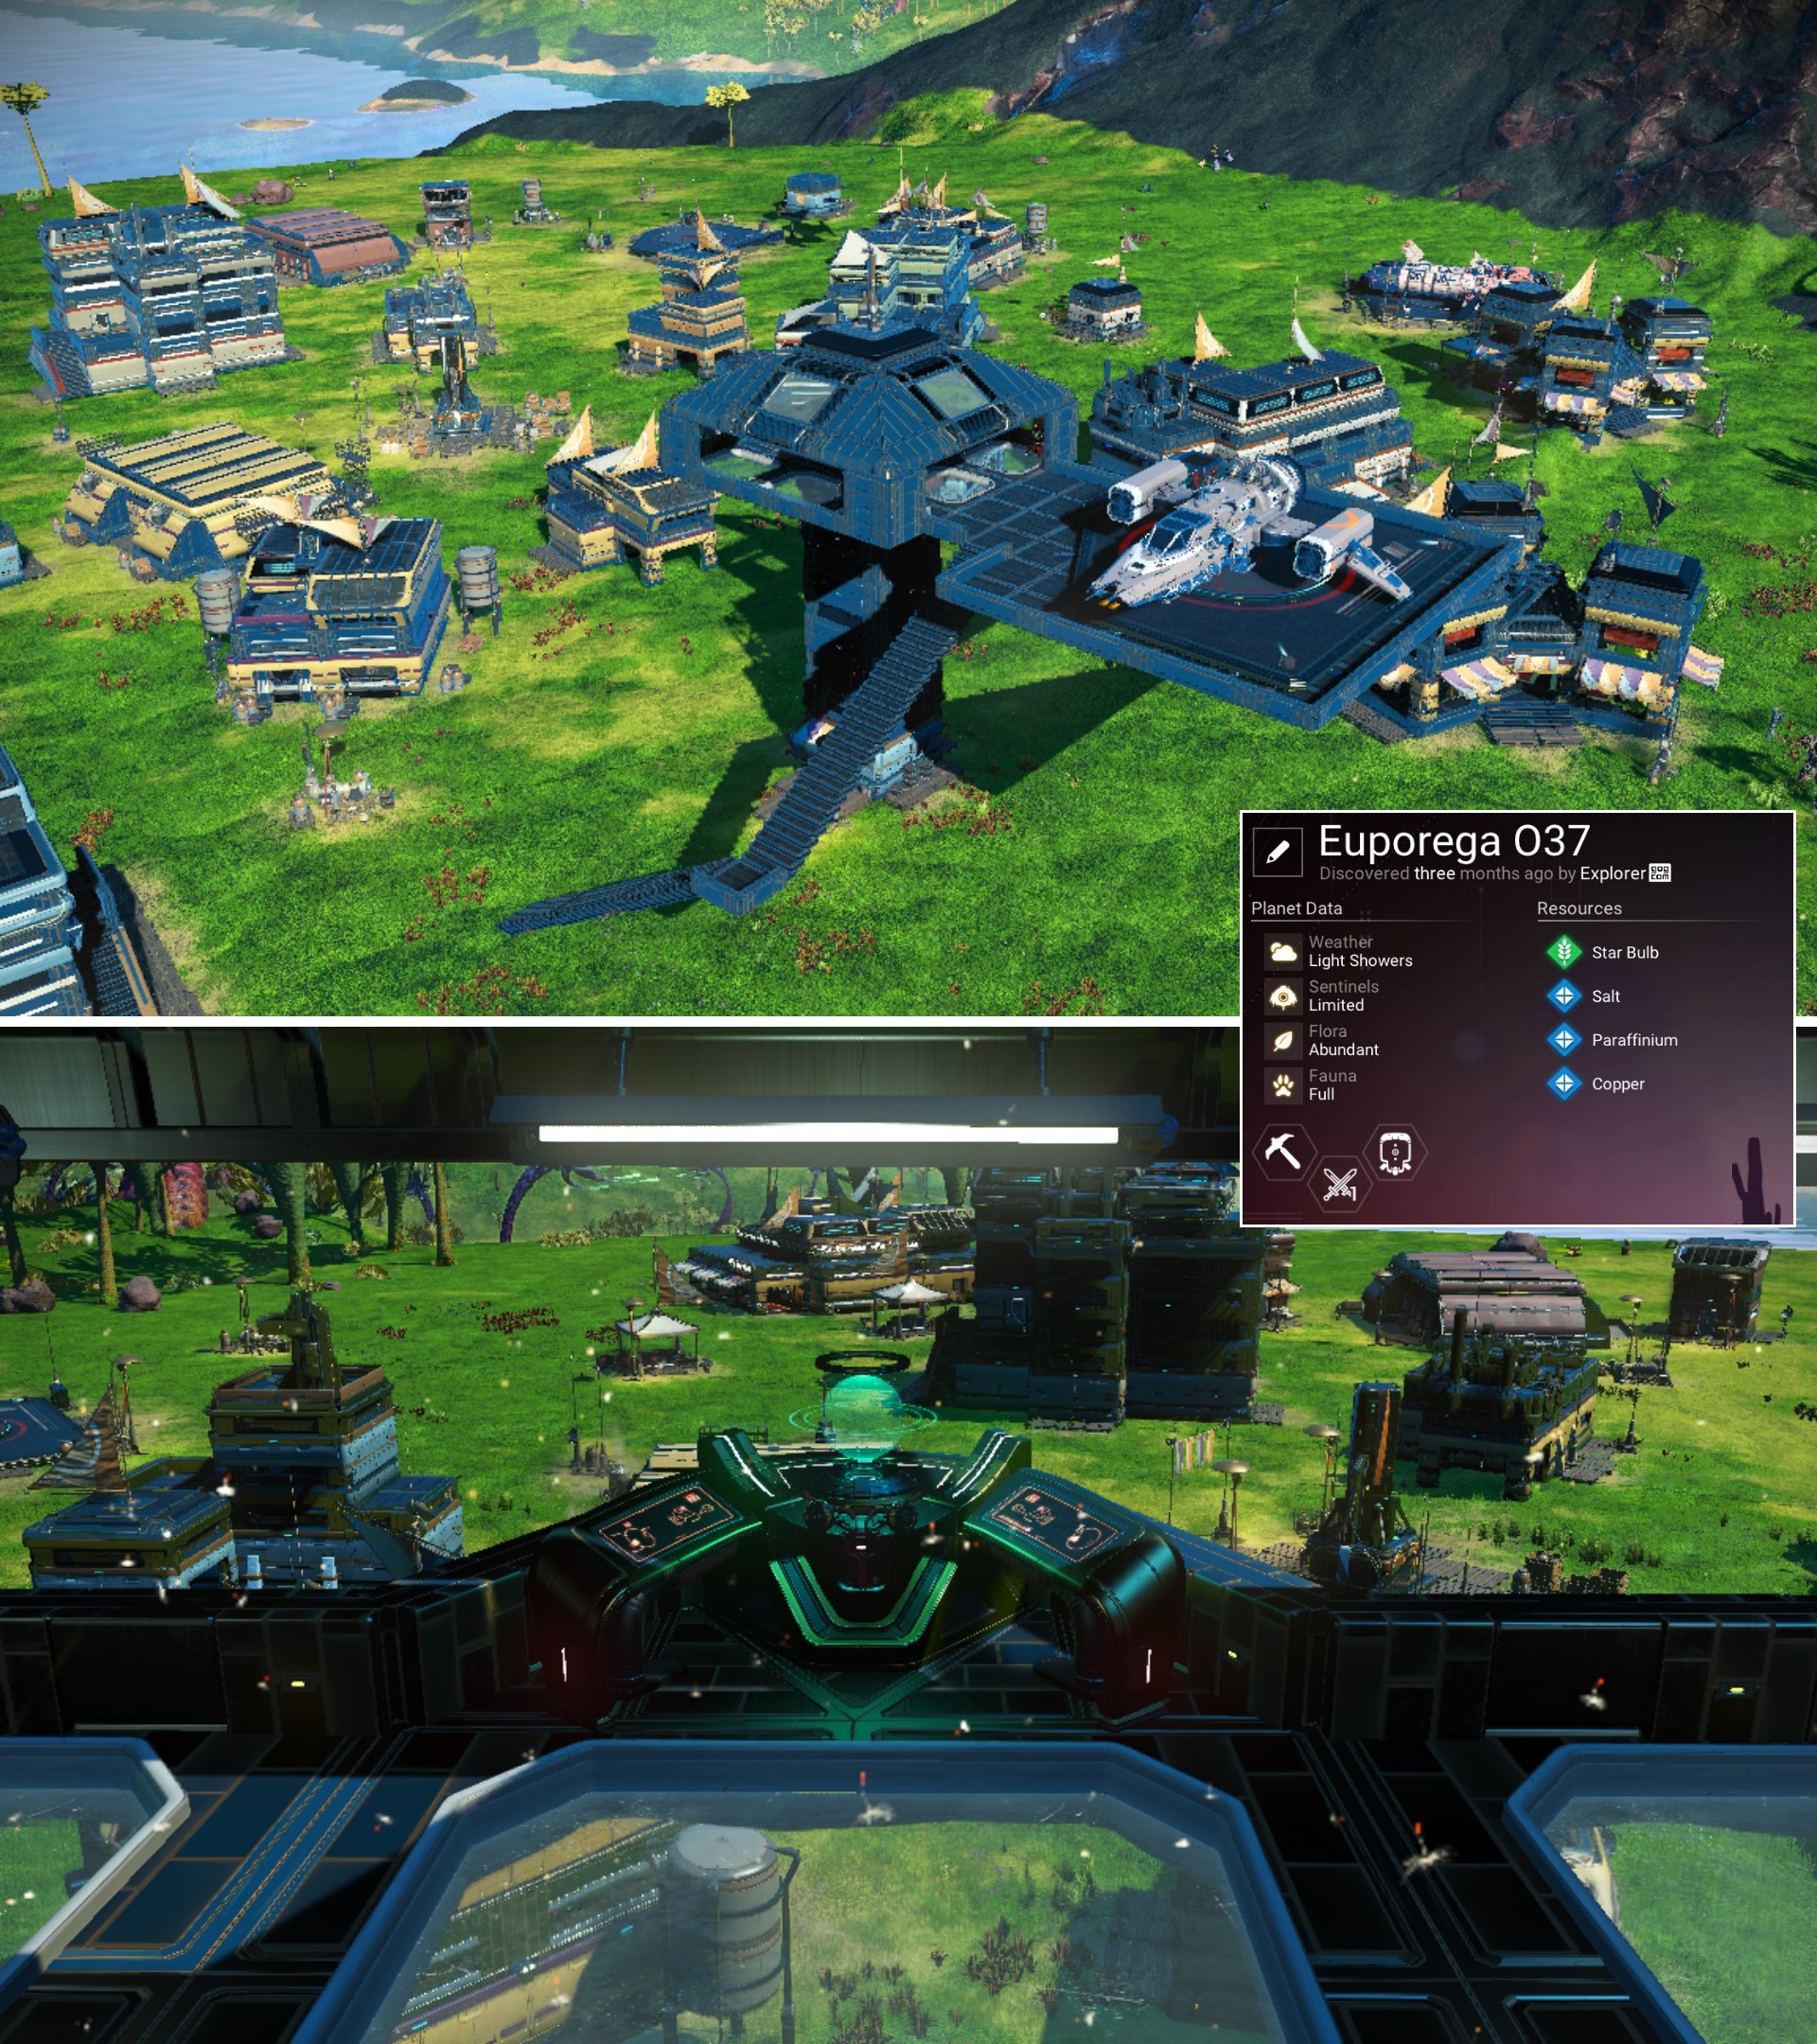
These save files are for players who want to skip most of the main missions which have been around (mainly unchanged) for years and get straight to exploring, building or doing other missions, quests or expeditions. If you are a long-time player or chronic restarter (like me), this will help each time you want to start a new save. It's great for testing and tinkering around with without having to listen to Artemis, Apollo or -null- pinging you in the background. Hack away at the save file and if something goes wrong, just re-import or re-paste the JSON and start over.
This save has progressed to just before the Autophage Questline can start. The Purge has been completed. See this page for details.
This save takes us to just after the Autophage Mission. The Purge has been completed and a portal bases have been set up in Euclid and Eissentam. See this page for details.
The Purge - or just before it. All you have to do is activate the final interface. You can still get this save file on github here. However, it's an older save file. Posted in early 2023 when Waypoint came out.
In the picture below you can see an admin terminal just like the one in the settlement overseer's office. If you have a base computer, a base teleporter and this terminal, you will never have to go into the overseer's office again.
Here's how to set up the admin terminal in case you accidentally delete it:{
"Timestamp":1730130345,
"ObjectID":"^SET_MAYORTERM",
"UserData":0,
"Position":[
-0.3475341796875,
-35.4747314453125,
-316.8692932128906
],
"Up":[
-0.0000034467229852452876,
0.9999948143959045,
-0.0032159804832190277
],
"At":[
-0.999798595905304,
0.00006109476089477539,
0.02006867527961731
],
"Message":""
}
